I’m Holding Onto Summer! How I Used Scrap Paper to Create a 4 Card "Summer Fun" Pack
I’m Holding Onto Summer! How I Used Scrap Paper to Create a 4-Card "Summer Fun" Pack
As the autumn leaves start creeping into our yards and the cool crisp breeze takes over, I’m over here clinging to sunny days for dear life! If you’re anything like me, you aren’t quite ready to put away the flip-flops, lemonade, and bright sunshine vibes. This project was literally my last-ditch effort to keep summer alive in my home and what better way to do that than with a burst of playful, happy paper crafts?
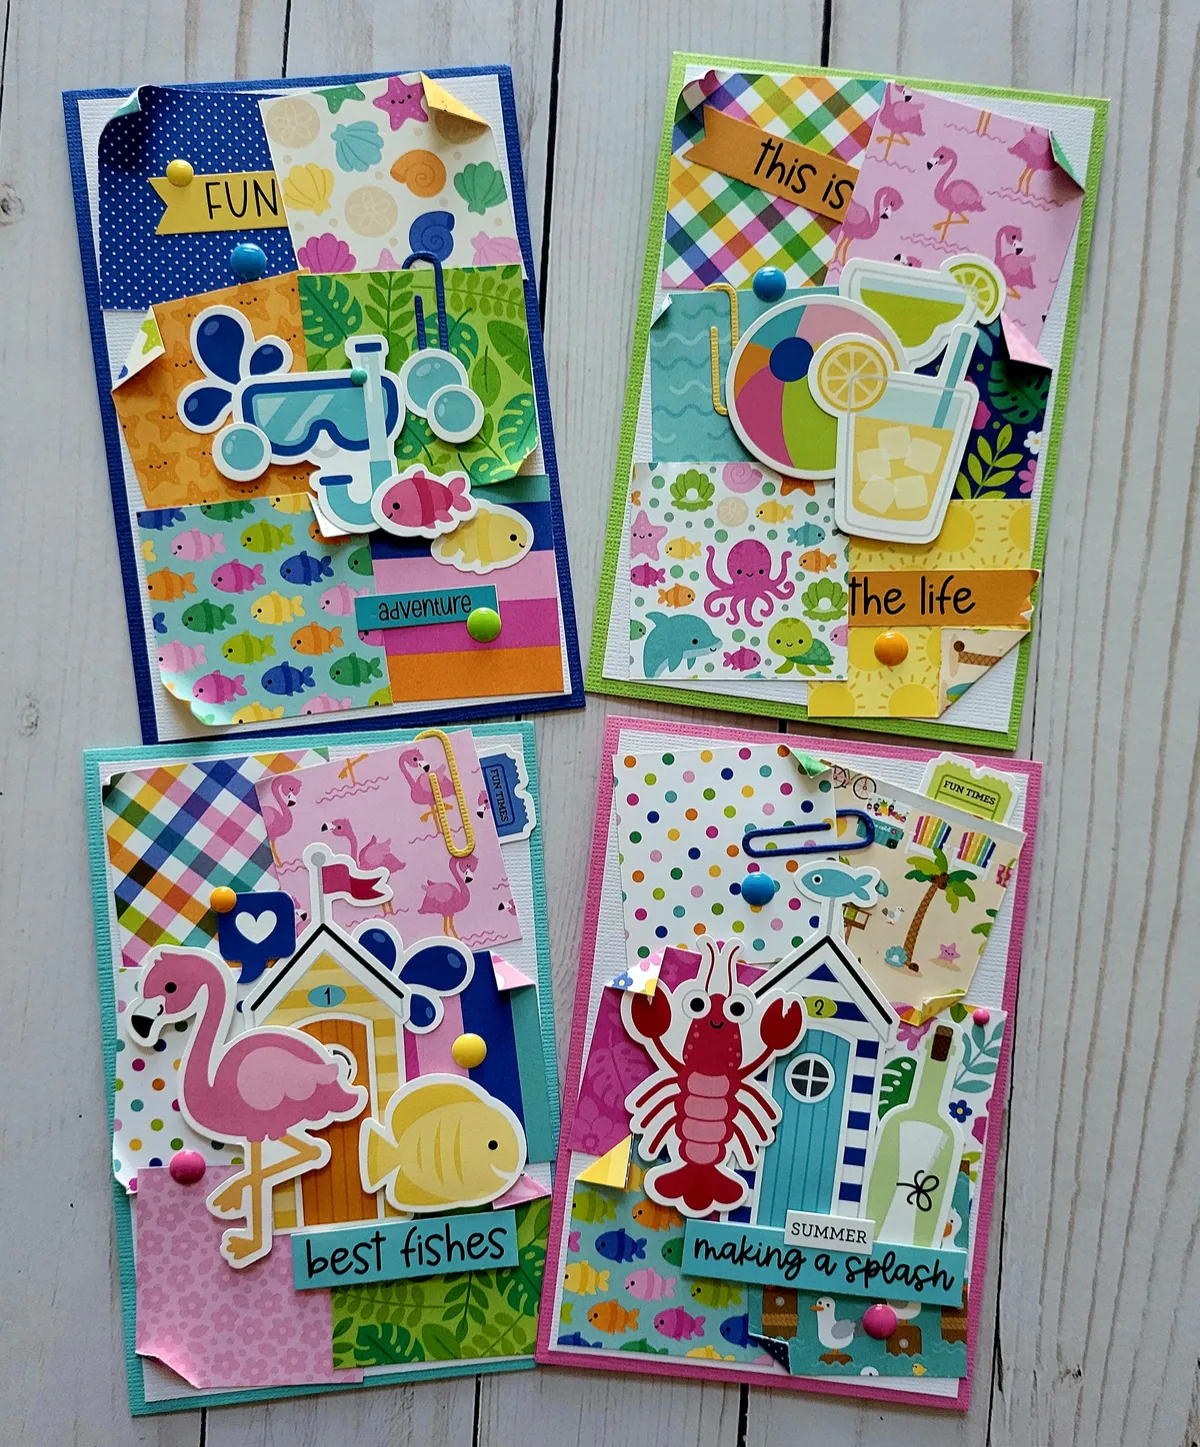
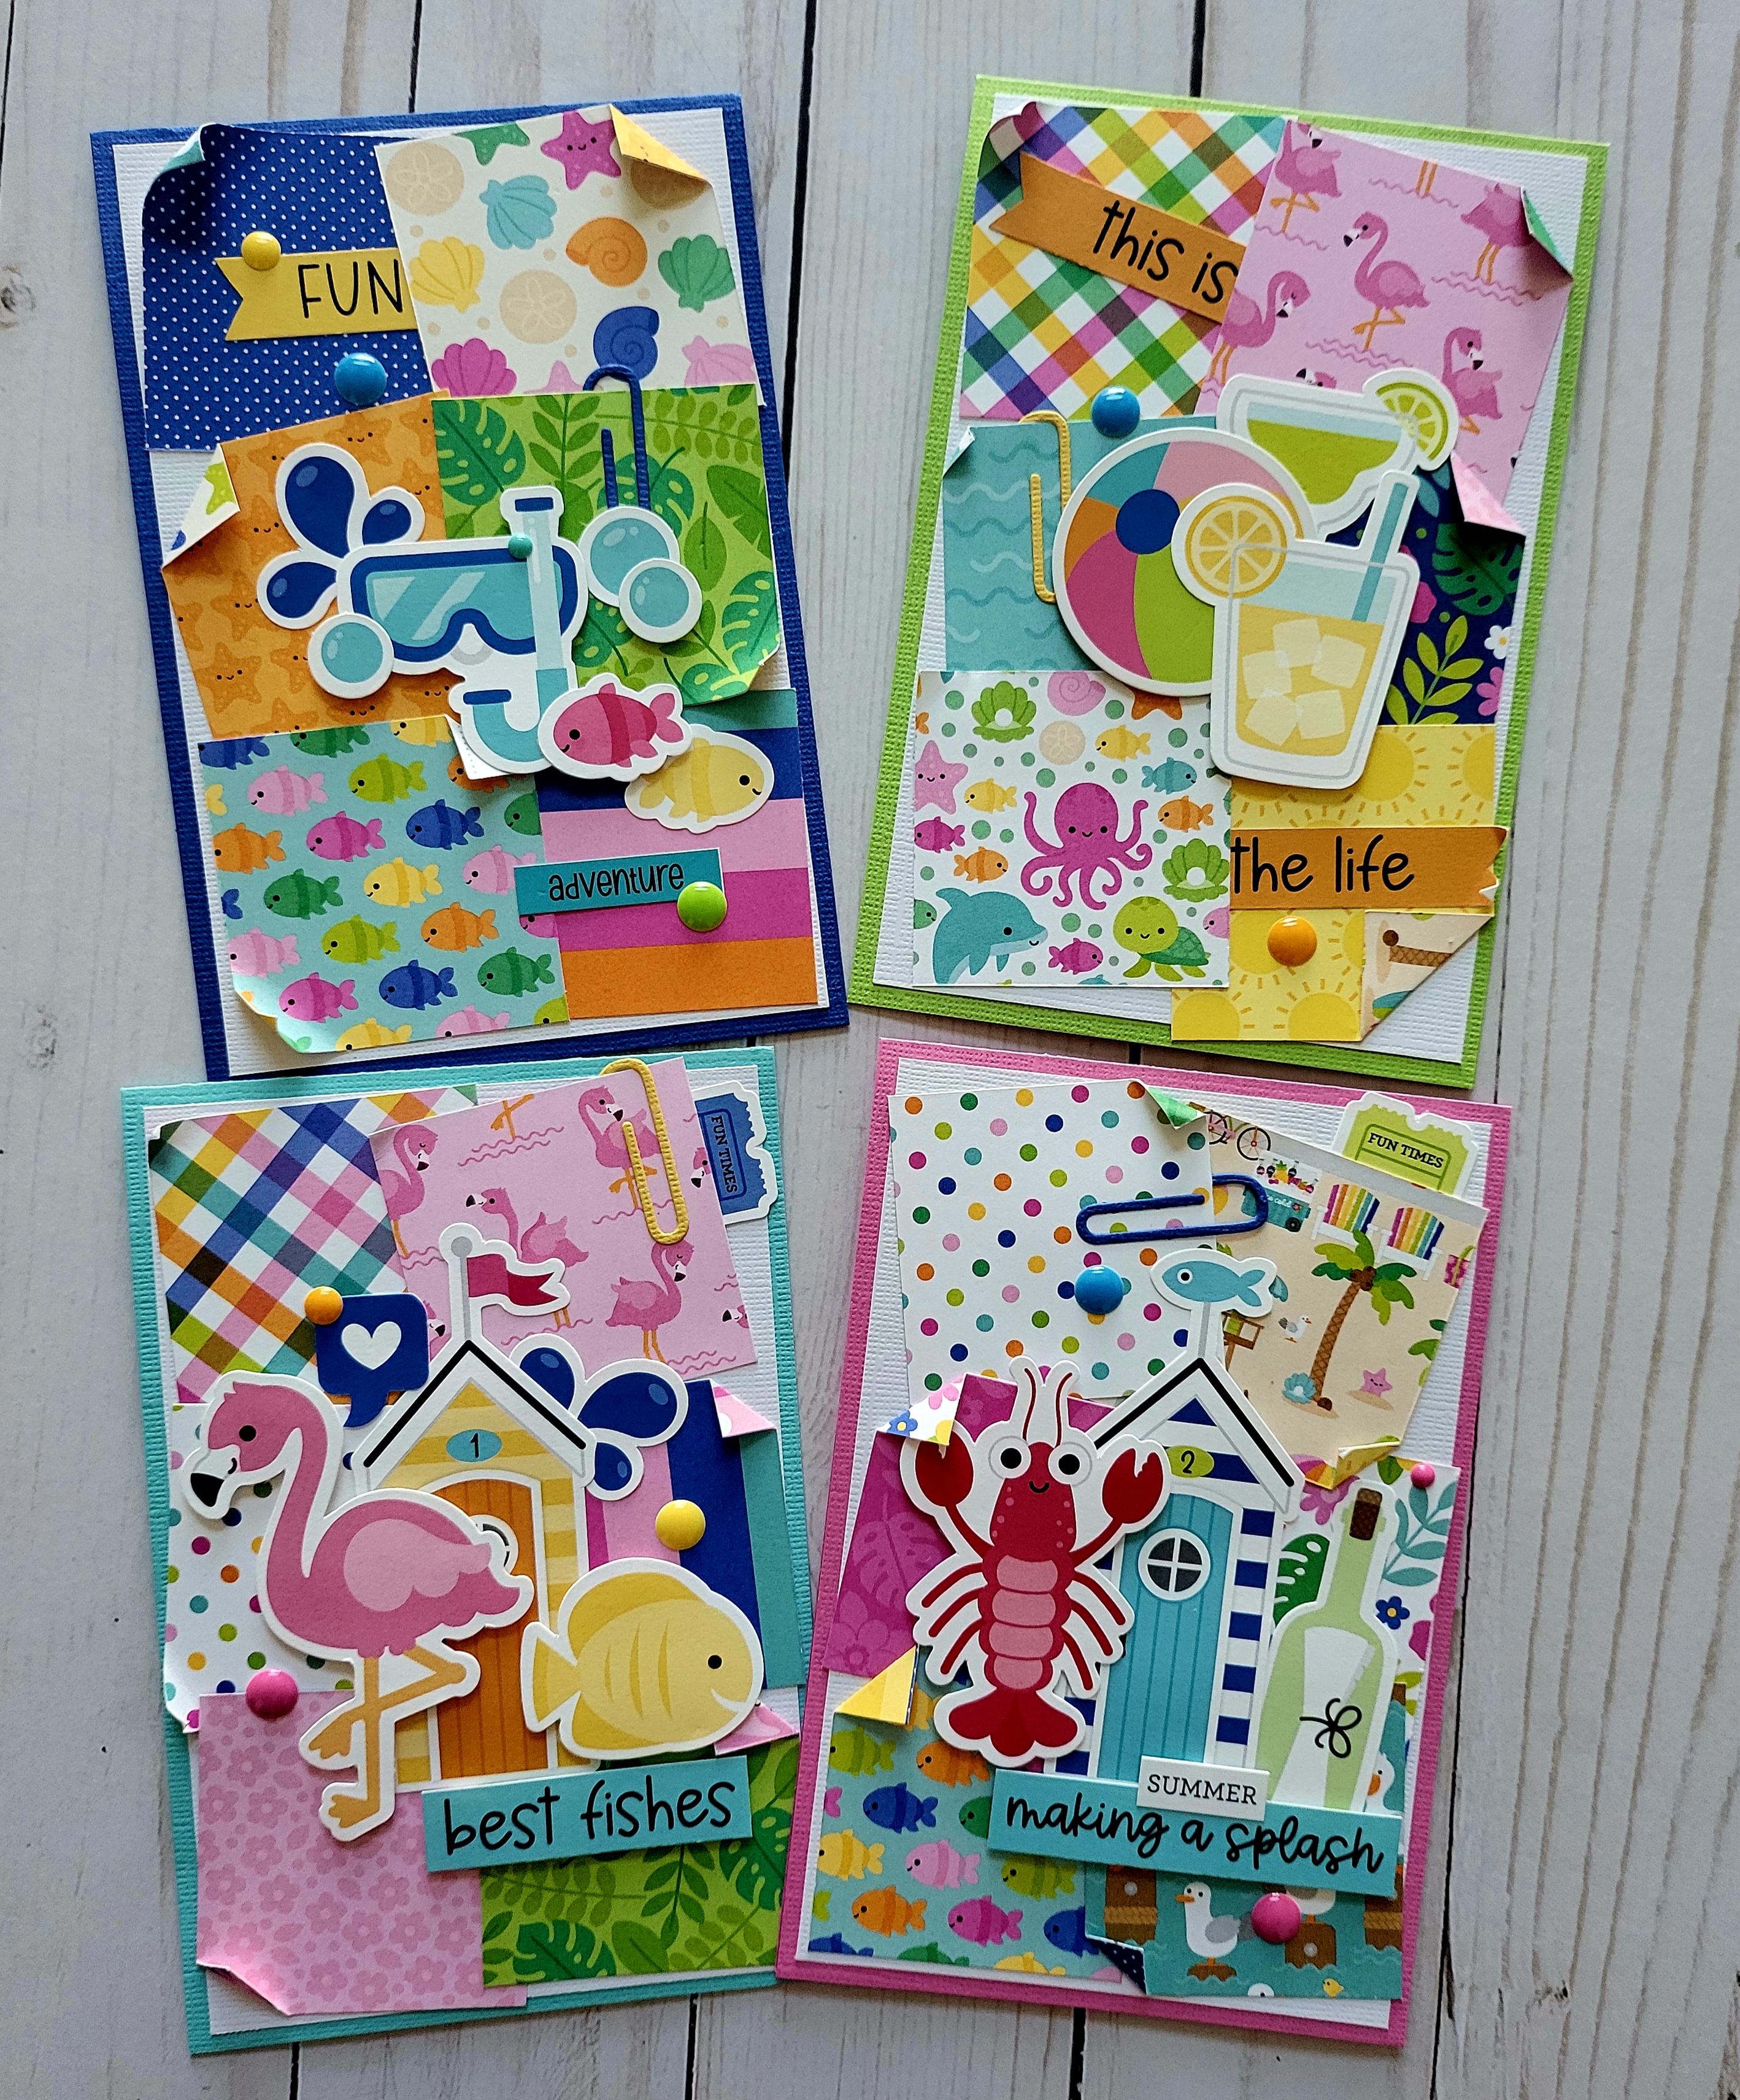
Today, I’m sharing a special set of four non-standard 6x9 cards that I squeezed out of my craft stash. These cards aren't for sale I've decided to keep them all in my personal stash for sending out special sunshine notes whenever the mood strikes!
The best part of this project? It was born out of pure scrap utilization. I scraped together every last piece of paper, sticker, and die-cut left over from previous projects. If you have a mountain of patterned paper scraps sitting on your desk right now, this post is your invitation to turn them into vibrant, eye-catching card sets.
The Recipe: What Supplies I Used
To create this set, I pulled out items from one of my absolute favorite bright and happy collections: Doodlebug Design’s Summer Fun Collection. Here is the breakdown of everything that went into this 4-card pack:
Doodlebug Summer Fun Collection 12x12 Double-Sided Paper & Sticker Sheet: The star of the show! The double-sided patterns make layering effortless because all the color palettes naturally coordinate.
Doodlebug 12x12 Solid Assortment Cardstock: Perfect for creating sturdy bases, matting bright patterns, and giving your eyes a place to rest between busy prints.
Doodlebug Ephemera & Chit Chat Die-Cut Collection: Title banners, playful phrases, cute icons, and sentiment die-cuts that give each card immediate personality.
Summer Assortment Cards & Envelopes: Colorful pre-folded card bases and matching envelopes that cut down on preparation time.
Basic Crafting Supplies: Paper trimmer, liquid adhesive, 3D foam tape (a must for adding dimension!), precision scissors, and a bone folder.
Why 6x9 Cards? Embracing the Unconventional Size
Normally, standard cardmaking revolves around A2 size (4.25"x 5.5") or A7 size (5"x 7") sizes. But for this project, I decided to go big with 6x9 inch cards!
Why break the rules?
More Canvas Space: A 6” x 9” layout gives you a massive canvas. It feels almost like mini-scrapbooking! You can build complex, multi-layered scenes without feeling crammed.
Scrap Friendly: When working with leftover strips of 12” x 12” paper, 6" x 9" are ideal cut lengths. A 6 x 12 strip trimmed down leaves you with very minimal waste.
Bold Visual Impact: Sitting on a mantel or display shelf, a 6” x 9” card stands tall and makes a dramatic display piece which is perfect since these are staying right here in my personal summer stash.
Card #1: Sunny Days & Sweet Treat Smiles
The Design Strategy
For the first card in the pack, I wanted to capture the ultimate lazy afternoon vibe: icy treats, sweet sunshine, and bright playful layers.
Layering the Scraps
Base: I started with a bright teal 6x9 card base from the summer assortment pack.
Background Panel: I grabbed a leftover 5.5" x 8.5" strip of yellow polka dot paper. Polka dots act as a great subtle background texture without overpowering the main focal elements.
Accent Strip: Across the center, I added a 3" x 8.5" strip featuring a bold, multicolor plaid pattern. Plaid is fantastic for pulling together multiple accent colors like pink, lime green, orange, and blue.
Focal Point & Ephemera: Using pieces from the Chit Chat Collection, I popped up a banner that reads "Sweet Summer Fun" using 3D foam adhesive. Beneath it, I placed cute popsicle and ice cream cone die-cuts.
Pro-Tip for Scraps:
If your scrap piece is slightly too short for a 6x9 card, border it with a solid cardstock mat! Adding a 1/8” cardstock frame bridges the gap and makes an odd-sized leftover strip look completely intentional.
Card #2: Poolside Paradise & Summer Vibes
The Design Strategy
Nothing says summer quite like poolside lounging! For Card #2, I focused on fresh blues, coral pinks, and cheerful summer motifs like beach balls, flip-flops, and inner tubes.
Step-by-Step Breakdown
Base & Matting: I chose a vibrant coral red cardstock base. To make the patterned paper pop, I matted a blue cloud pattern scrap onto a piece of crisp white cardstock before adhering it to the base.
Diagonal Scrap Layout: Don't throw away triangular off-cuts! I took two diagonal scrap pieces of striped paper and placed them in opposite corners of the card. This anchors the design and draws the viewer's eyes straight to the middle.
Sticker Layering: Using the Doodlebug Summer Fun Sticker Sheet, I layered small icon stickers together—sunglasses, suns, and tiny hearts—to create my own custom embellishment cluster.
The Title: I used a large die-cut sentiment, "Pool Party," placed diagonally along the central line.
Card #3: Sunshine & Lemonade Stand
The Design Strategy
Yellow is the ultimate color of happiness! Card #3 was built around a citrus lemon motif, mixing bright yellow, fresh lime green, and subtle gingham patterns.
How to Mix Patterns Without Overwhelming the Eye
When you are using leftover pieces, you often end up with contrasting patterns that you wouldn't normally put together. Here is how I made three distinct patterns work on one card:
Vary the Scale: Pair a large-scale pattern (like big lemon icons) with a small-scale pattern (like tiny micro-dots or fine gingham).
Use a Neutral Divider: Place a thin strip of solid cardstock or white ribbon between overlapping patterned papers to separate the busy prints visually.
Ephemera Highlights
I used the Chit Chat "You are my Sunshine" die-cut frame as the primary anchor, placing a dimensional puffy sticker right in the center for added texture.
Card #4: Endless Summer Memories
The Design Strategy
For the fourth and final card, I wanted a celebration of all the best parts of the season. I grouped all my remaining die-cut scraps together into a rich, interactive grid arrangement.
Creating a Grid Layout with Paper Scraps
Grid layouts are a crafter’s best friend when working with odd bits and pieces!
Cut small rectangular mats out of your remaining solid cardstock scraps (e.g., 2" x 2".
Fill each rectangle with a distinct tiny element: one frame gets a small sentiment sticker, another gets a die-cut flamingo, another gets a strip of leftover floral paper, and so on.
Arrange the rectangles in a clean 2 x 2 grid on your 6x9 base.
This technique unifies completely random scrap pieces into a clean, cohesive, and professional-looking design!
Top 5 Lessons Learned from Scrap-Busting a Doodlebug Collection
Working with scraps can feel intimidating because you don't have full 12” x 12” sheets to rely on. But limitations actually unleash creativity! Here are my top takeaways from this project:
Doodlebug Makes It Easy: Because Doodlebug collections use a unified color palette, even scraps from totally different sheets in the pack look like they belong together.
Don't Fear Large Card Formats: Trying 6”x 9” cards was a game-changer! It gave me freedom to use larger leftover strips without trimming them down into tiny tiny pieces.
Foam Tape is Magic: Adding height and dimension with foam tape makes flat paper scraps look dynamic and store-bought quality.
Combine Stickers & Ephemera: Don't hesitate to overlap flat cardstock die-cuts from the Chit Chat pack with dimensional cardstock stickers. Mixing textures makes your project feel rich.
Keep What You Love: You don't always have to give away or sell your creations! Keeping a personal stash of happy paper crafts in your home studio or desk is a wonderful way to brighten your own mood whenever you need a boost of sunshine.
Keeping Summer Alive All Year Long
Even though autumn is knocking on the door, walking into my craft room and seeing this 4 Card Summer Fun Pack displayed on my shelf brings an immediate smile to my face. It was such a rewarding challenge to take leftover bits and pieces that almost ended up in the recycling bin and turn them into a bright, joyful display set.
Do you have leftover summer paper collections hiding in your scrap bin? Pull them out, cut a few large card bases, and make yourself a stash of sunshine before the snow arrives!
To see a walkthrough of the cards click HERE.
Happy Crafting!
Much Love, Stacie 🩷